If you would like to create a custom banner for a Teams announcement, use this quick guide!
-
Open PowerPoint and start a new Blank Presentation. On the Menu at the top, select ‘Design’ and then ‘Slide Size’ and ‘Page Setup’.
In the new window, in the ‘Slide sized for’ dropdown, choose ‘Custom’. For width, type in “918 px” (yes, including the px). For height, type in “120 px”. Note that your computer may convert that back into cm when you click away, that is ok.
-
Design your slide for how you want your banner to look. Consider the background colour etc. Be mindful that on smaller devices, e.g. Phone, the sides are likely to be cropped. Try to keep your content central and large.

-
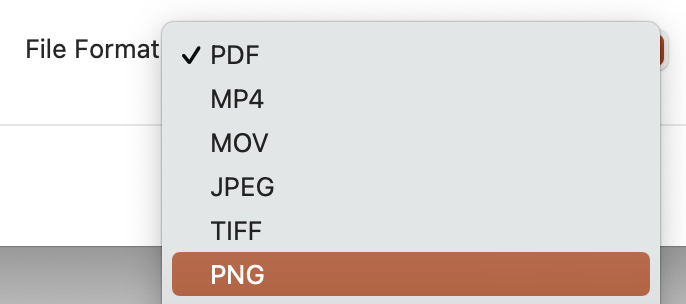
Once your design is final, choose File < Export. In the export window, make sure to change the file format from PDF to an image file, e.g. PNG (Ensure that the Width and Height are the same as we entered earlier). Choose a location and give your file a name, then export.

You are now ready to create the Announcement post in Teams.
-
In the channel where you’d like to post, click the formatting icon just below the “Start an new conversation” input.

-
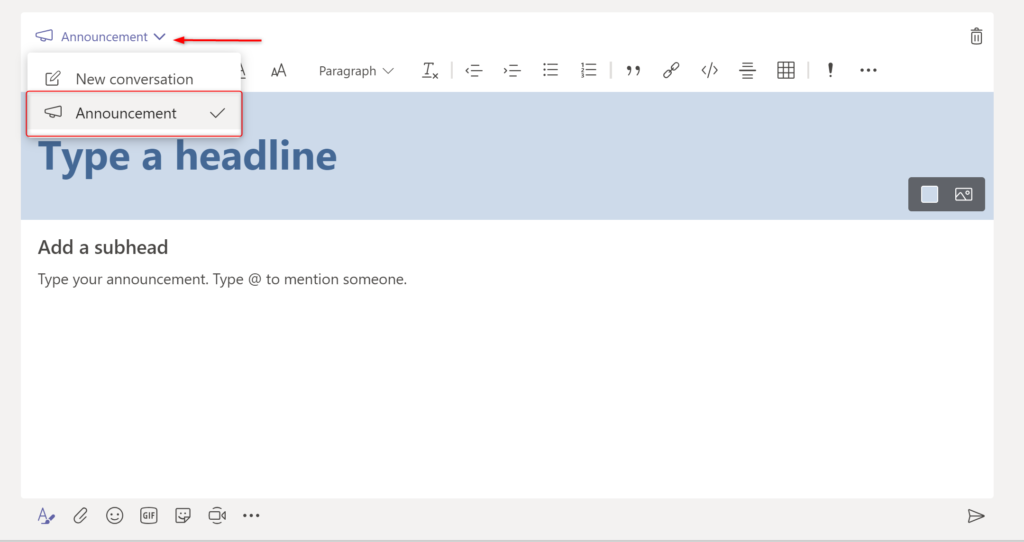
Click on the “New Conversation” drop down and select “Announcement”. You will see the format change to having a banner area and a few additional configuration options.

-
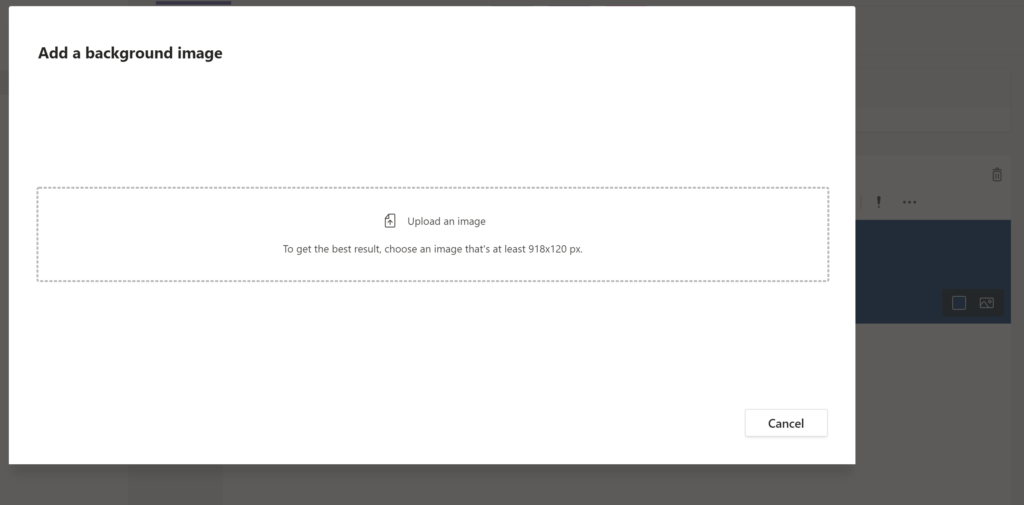
Select the image icon next to the color palette icon and choose ‘Upload an image’. You will be asked to upload an image that is at least 918x120px.


-
Once you have selected your image, drag and position the image within the window to the area that will be cropped for the announcement banner area. You can zoom in or out to help get the right selection.
After you have added your image, click on the “Headline” area and start typing to add the header text for your announcement. Also fill out the subhead and the body of you message. You can @ mention a channel, person, team or a tag in your message.
Want to learn how to only notify a small group of people within your team? Check out my post about Tags.
Leave a Comment
Your email address will not be published. Required fields are marked *